Measurement of samples

metrology and analytics
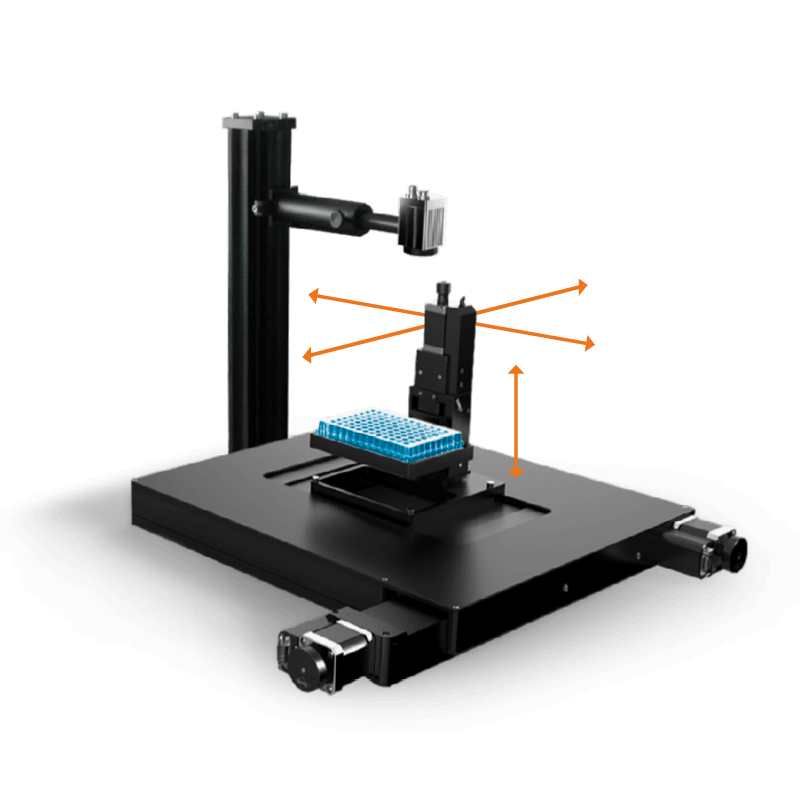
In our example from metrology and analytics, hundreds of samples shall be analysed as fast as possible (fig. 1). In this application, not the lateral traverse speed but the process time is the main cost factor. Due to the sum of the vertical tolerances of all components, an individual refocusing of the camera is required.
In order to avoid this time-consuming refocusing, our positioning units are being manufactured, assembled and measured for maximum flatness. Due to this high precision of only a few micrometres, in many applications the refocusing can be dispensed completely.
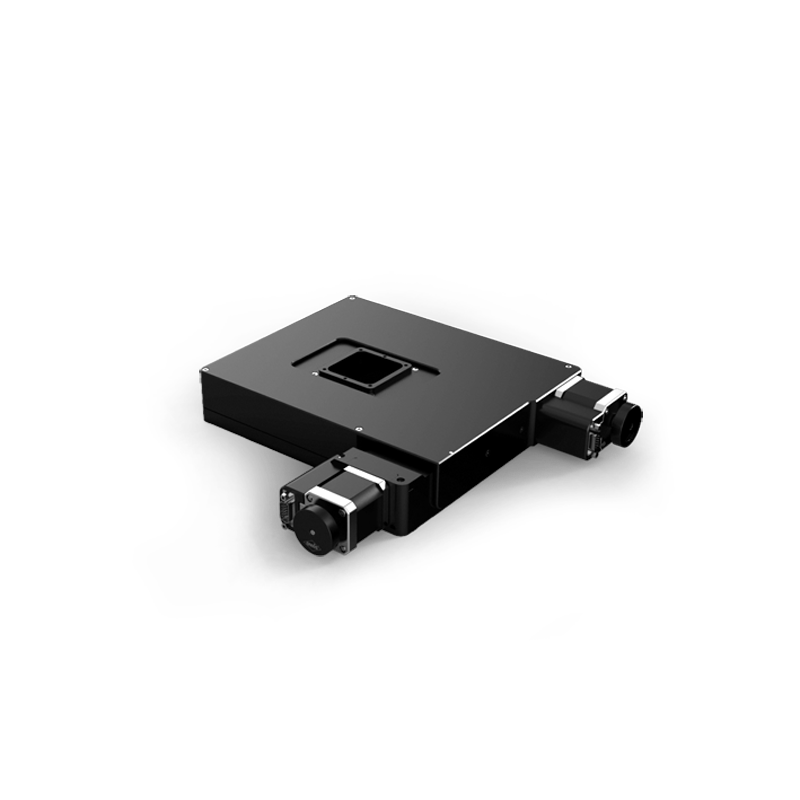
For this purpose we use our compact high-precision XY stage CROSS (fig. 2 and 3). Our XY stages are available with or without aperture. Building on the XY stage we present two alternate solutions.
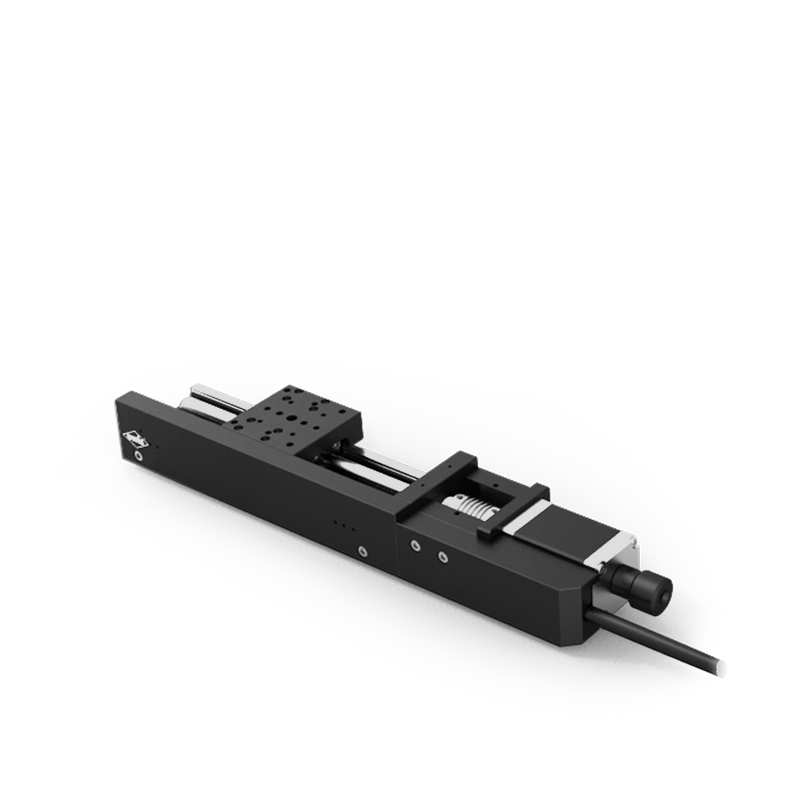
Firstly (fig. 2), a linear stage is mounted vertically on the XY stage. Independently of our system, a camera is statically installed above the linear stage. By means of the high-precision linear stage LIMES 44 the sample holder is positioned along the Z-axis. Therefore, various working distances between camera and samples can be realised.
Secondly (fig. 3), a gantry is placed over the XY stage which is equipped with two linear stages. By means of the vertically mounted precision linear stage LTM 45M different working distances can also be adjusted to the camera mounted on it. Thanks to the horizontally mounted linear stage it is possible to measure on one sample plate while simultaneously a new sample plate is inserted on the other side. In our example we use the high-precision linear stage LIMES 84N. When synchronizing the linear stage with the XY stage, process time can be improved additionally.
Download as PDFProducts used in this application

CROSS 50
- travel range 48 mm on each axis
- aperture 50 x 50 mm
- industrial application, recirculating ball bearing guides, ball screws


